Introduction
Painting your home by yourself can seem like a daunting task, but it’s incredibly rewarding. Not only do you get to personalize your space exactly how you like it, but you also save money and gain a sense of accomplishment. Whether you’re looking to refresh a single room or give your entire house a makeover, doing it yourself allows for creativity and control. So, roll up your sleeves, grab your brushes, and let’s get started on transforming your home!
Table of Contents
Planning Your Painting Project
Setting a Budget
Before you even think about picking up a paintbrush, it’s crucial to set a budget. Consider the size of the area you want to paint and the quality of the materials you’ll need. Don’t forget to factor in the cost of any tools or equipment you might need to purchase. A well-planned budget ensures you won’t run out of funds halfway through your project.
Choosing the Right Time
Timing is everything when it comes to painting. Choose a period when the weather is dry and mild. This will help the paint to dry evenly and prevent issues like bubbling or peeling. Also, ensure you have enough time to complete the project without rushing.
Deciding on Colors and Finishes

The colors and finishes you choose will set the tone for your entire home. Take your time to decide on a color scheme that reflects your personal style. Matte finishes are great for hiding imperfections, while satin or semi-gloss finishes are easier to clean and more durable.
Gathering Your Supplies
Essential Tools and Materials
To get started, you’ll need a few basic tools and materials: paint (of course), brushes, rollers, painter’s tape, drop cloths, and a paint tray. You might also need a ladder, especially if you’re painting ceilings or high walls.
Eco-friendly and High-Quality Options
Consider using eco-friendly paints that have low levels of volatile organic compounds (VOCs). These are better for your health and the environment. High-quality paints and tools might be more expensive upfront, but they’ll save you time and money in the long run by providing better coverage and durability.
Preparing Your Home for Painting
Moving and Covering Furniture
Clear the room of as much furniture as possible. Move larger items to the center of the room and cover them with drop cloths or plastic sheeting to protect them from paint splatters.
Cleaning and Repairing Walls

For the best results, clean your walls thoroughly before painting. Remove any dirt, dust, or grease. Fill in any holes or cracks with spackle and sand them smooth once they’re dry.
Taping and Protecting Surfaces
Use painter’s tape to protect edges, trim, and any areas you don’t want to paint. This will help you achieve clean, straight lines and a professional-looking finish.
Choosing the Right Paint
Types of Paint (Oil vs. Latex)
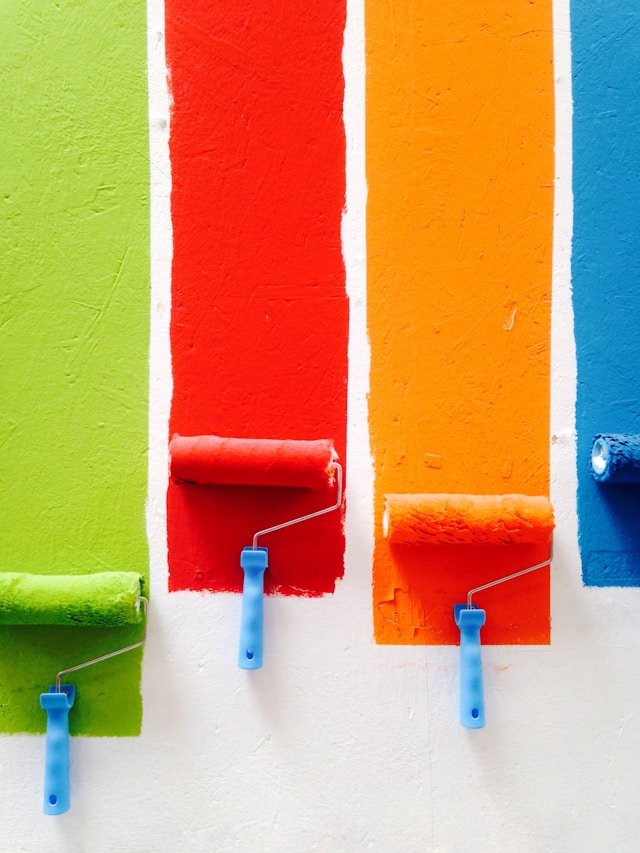
Oil-based paints are durable and great for trim work, but they have a strong odor and require mineral spirits for cleanup. Latex paints are more user-friendly, dry quickly, and can be cleaned up with water. For most DIY projects, latex paint is the way to go.
Selecting the Appropriate Finish
Different finishes serve different purposes. Flat or matte finishes hide imperfections but are harder to clean. Eggshell and satin finishes are more durable and easier to clean, making them ideal for high-traffic areas. Semi-gloss and gloss finishes are perfect for trim and doors because they’re tough and easy to wipe down.
Picking the Perfect Color

Choosing the right color can be overwhelming. Consider the mood you want to create and how different colors affect that mood. Test a few samples on your walls and observe them at different times of the day to see how they look in various lighting conditions.
Priming the Walls
Importance of Priming
Priming is an essential step that shouldn’t be skipped. Primer helps the paint adhere better, provides a uniform surface, and can even block stains and odors.
Choosing the Right Primer
Choose a primer that’s appropriate for your surface and the type of paint you’re using. There are primers for drywall, wood, and even metal. If you’re painting over a dark color or stains, consider using a stain-blocking primer.
Applying Primer Properly
Apply the primer evenly using a brush for edges and a roller for larger surfaces. Allow it to dry completely before moving on to painting.
Techniques for Painting Walls
Cutting In: Edges and Corners
Start by cutting in the edges and corners with a brush. This means painting a 2-3 inch border around the edges of the walls where the roller won’t reach. This creates a frame for you to fill in with the roller.
Rolling: Large Surfaces
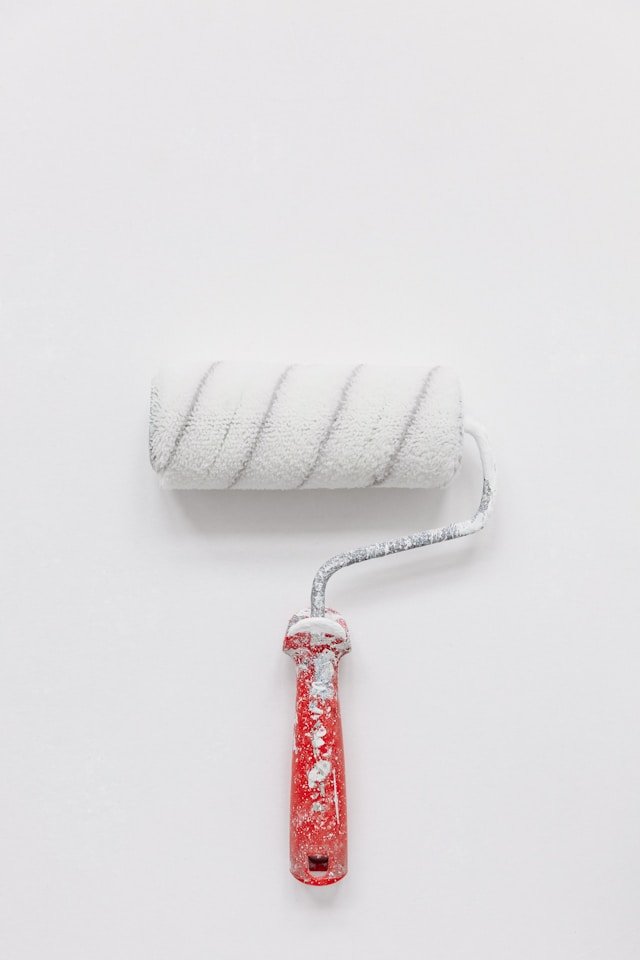
Use a roller to cover the larger areas. Apply the paint in a “W” pattern to ensure even coverage. Don’t overload the roller with paint to avoid drips and ensure a smooth finish.
Achieving a Smooth Finish
For a smooth finish, use long, even strokes and go over the area lightly with a roller once more to smooth out any roller marks. Be sure to overlap your strokes slightly to avoid missed spots.
Painting Ceilings and Trims
Techniques for Ceilings
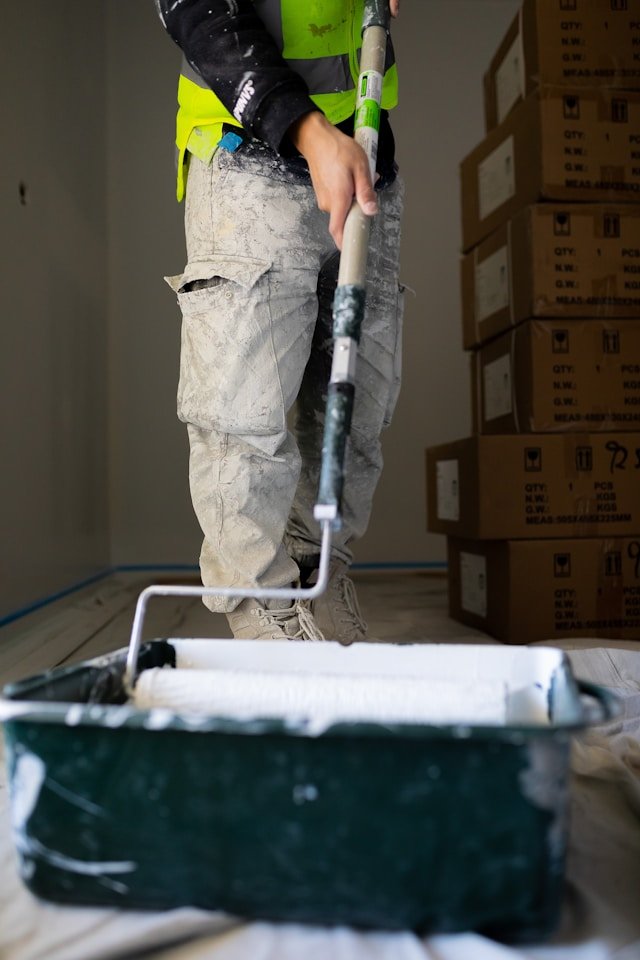
Painting a ceiling can be tricky. Use a roller with an extension pole to reach high areas. Start by cutting in around the edges and then use the roller to fill in the rest. Use light, even strokes to avoid drips.
Tips for Painting Trims and Moldings
Use a small, angled brush for trims and moldings. Take your time to ensure straight lines and even coverage. Painter’s tape can help you achieve a crisp, clean edge.
Avoiding Drips and Splatters
To prevent drips and splatters, don’t overload your brush or roller with paint. Use slow, controlled strokes and keep a damp cloth handy to wipe up any accidents immediately.
Special Painting Techniques
Accent Walls
An accent wall can add a pop of color and interest to a room. Choose a wall that you want to highlight and paint it a different color than the rest of the room. Be sure to use painter’s tape to create clean edges.
Textured Finishes
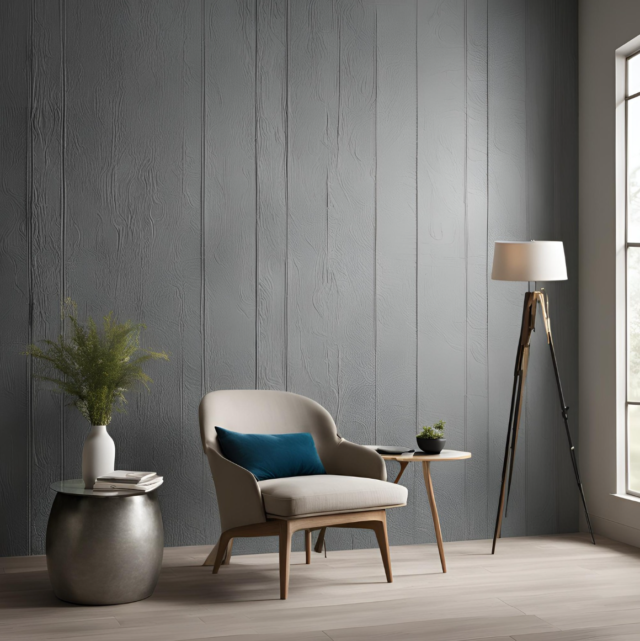
Textured finishes can add depth and character to your walls. There are various techniques, such as sponging, rag rolling, and stippling, that you can use to create different effects.
Faux Painting Techniques
Faux painting can mimic the look of other materials like marble or wood. This technique can be more advanced, but with practice and the right tools, you can achieve stunning results.
Dealing with Common Problems
Fixing Uneven Coverage
If your paint looks uneven, wait for it to dry and then apply a second coat. Be sure to use the same technique and pressure for each coat to ensure an even finish.
Handling Drips and Smudges
If you notice drips or smudges while the paint is still wet, use a damp cloth to gently smooth them out. If the paint has dried, you may need to sand the area lightly and repaint.
Touching Up Mistakes
For small touch-ups, use a small brush and feather the edges to blend the new paint with the old. This will help the touch-up areas blend seamlessly with the rest of the wall.
Drying and Curing Times
Understanding Drying vs. Curing
Paint dries to the touch relatively quickly, but it can take weeks to fully cure. Drying means the paint is no longer wet, while curing means it has reached its maximum hardness and durability.
Factors Affecting Drying Times
Humidity, temperature, and ventilation can all affect drying times. A well-ventilated, warm, and dry environment will help the paint dry and cure more quickly.
Ensuring Proper Ventilation
Good ventilation is crucial for drying and curing. Open windows and use fans to circulate air. This will also help dissipate any paint fumes.
Cleaning Up After Painting
Cleaning Brushes and Rollers
Clean your brushes and rollers immediately after use. For latex paint, use soap and water. For oil-based paint, you’ll need mineral spirits or paint thinner. Clean tools thoroughly and let them dry completely before storing.
Disposing of Paint Properly
Dispose of leftover paint and materials responsibly. Check with your local waste management facility for guidelines on disposing of paint and other hazardous materials.
Storing Leftover Paint
Store leftover paint in a cool, dry place. Seal the can tightly and label it with the date and the color used. This will make touch-ups easier in the future.
Final Touches and Inspections
Inspecting for Missed Spots
Once the paint is dry, inspect your work for any missed spots or uneven areas. Use a small brush to touch up any imperfections.
Making Final Touch-Ups
Make any necessary touch-ups and allow the paint to dry completely. This will ensure a flawless finish.
Ensuring a Professional Finish
Step back and admire your work! A professional finish comes from taking your time and paying attention to details. Your hard work will pay off in a beautifully painted home.
Maintaining Your Painted Walls
Routine Cleaning Tips
Keep your walls looking fresh by dusting them regularly and wiping them down with a damp cloth. Avoid harsh chemicals that can damage the paint.
Addressing Minor Damages
For minor damages like scuffs or small holes, touch up the paint as needed. Keep some leftover paint on hand for these small repairs.
Repainting High-Traffic Areas
High-traffic areas may need to be repainted more frequently. Regular maintenance will keep these areas looking their best.
Conclusion
Painting your home by yourself is a rewarding project that can transform your living space. With careful planning, the right tools, and some patience, you can achieve professional-looking results. Don’t be afraid to experiment with colors and techniques to make your home uniquely yours. Happy painting!

